This guide will cover how to create a new project in the procurement phase.
If you are looking to handover a project that was tendered on E1, take a read of this guide here.
Start the project creation wizard
You can create procurement projects whenever you see the ‘Add New Project button. Make sure that you create a ‘New Procurement Project’ when given the option.
Setting up the project
You will be guided through a 4-step wizard to help create the project. You can come back at any time to add more information to the project, so if you don't have everything on hand you can come back later. Here is a summary of what you will need to include at each step as well as a some tips.
1. Project details
- This is where you will populate the basic information about the project such as the name, address and contact person.
- It is a great idea to include a description of the works to give subcontractors and suppliers some context when they access their invitations. Keep this high level to ensure it is relevant to everyone who looks at it.
After you complete this step, the project is created in your account, meaning you can populate project details but skip the rest of the wizard and complete the steps later on.
Optional Fixed Price confirmation
All procurement phase projects have the option to request a ‘fixed price’ confirmation.
When enabling this option, we will prompt subcontractors to confirm whether the quote submitted on E1 is a fixed price. This will help you quickly identify which quotes are fixed and which are not on E1.
A fixed price quote is an offer to complete a project for a set price, valid for a specified period unless the project scope changes.
Head to the ‘Include Fixed Quote Confirmation’ section at the bottom of the project wizard to make your selection.

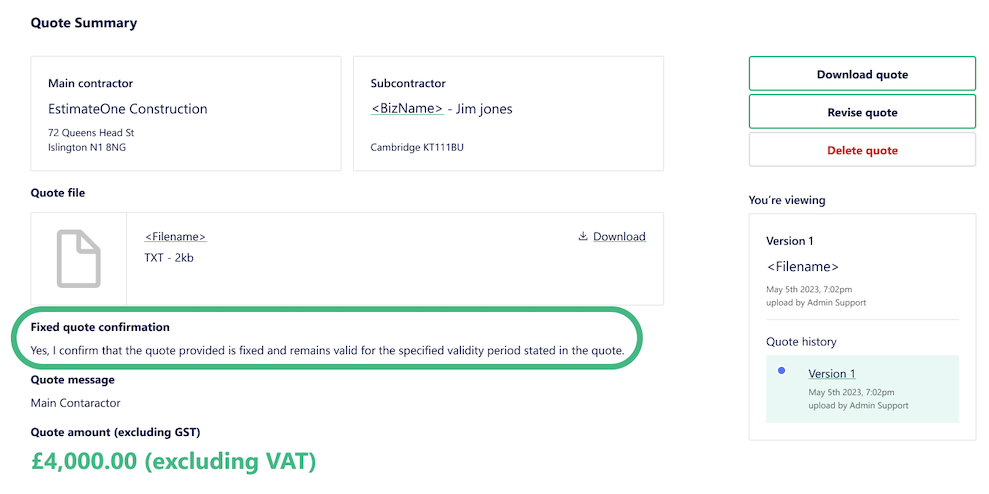
Any fixed quote submissions from subcontractors can be identified by the phrase ‘Yes, I confirm that the quote provided is fixed and remains valid for the specified validity period stated in the quote.’ in the ‘Fixed quote confirmation’ field of the submission.

2. Select your trades
Now you need to select the trades you require on the project. In later steps, you will be starting to build out packages for these trades so focus on the trades you need to create packages for right away.
3. Upload your documents
To upload documents, all you need to do is drag and drop the files you would like to send out.
We have detailed guides that show you how to upload documents and how to manage your uploaded documents.
4. Creating your packages
At this point, you will be asked to create packages for each of the trades you marked as ‘required’.
You don't need to create a package for every trade, and you have the ability to create custom packages that cover multiple trades.
If you want to learn more about how to use the document matrix take a look at this guide.
Finishing the wizard
Congratulations - the project has now been created and is ready for you to start working on! You will be directed to the Schedule after step 4.
As next steps, we recommend you: